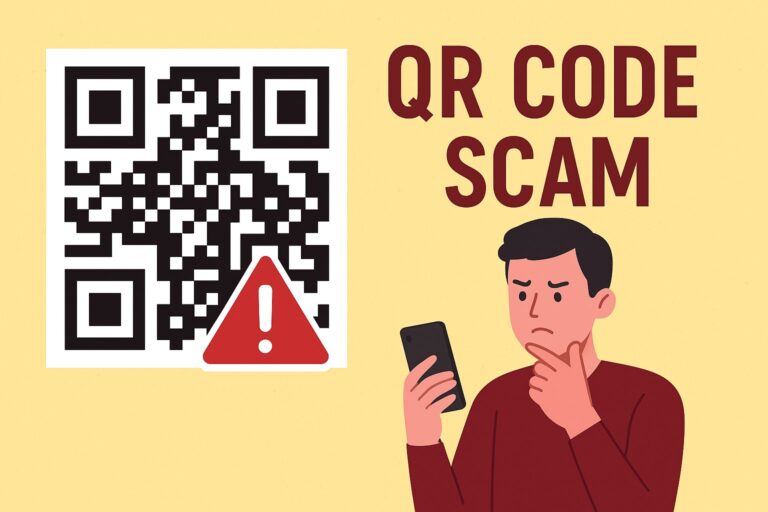
It is important to be able to verify the authenticity of images you come across on the internet. It is always advisable to never believe everything you see or receive on social media or WhatsApp.
Reverse image search is a simple yet effective way to verify the authenticity of images. Reverse image search is a technique that allows you to find the original source or other web pages where an image appears on the internet. This can help you identify the origin of an image, verify its authenticity, and find additional information or context about it.
In this guide, we’ll walk you through the simple steps to perform a reverse image search on Desktop and Mobile device. By following these steps, you can perform a reverse image search and analyse the results to make informed decisions about the images you come across online.
First, let’s learn how to do a reverse image search on desktop.
Step 1: Choose an Image
The first step is to choose the image you want to perform a reverse image search on. This can be an image you’ve found online or one that you have on your device.
Step 2: Open Reverse Image Search Tool
There are several reverse image search tools available online. Some of the popular ones include Google Images, TinEye, Bing, and Yandex. The steps for conducting a reverse image search are similar across different search engines.
For this guide, we’ll be using Google Images as an example.
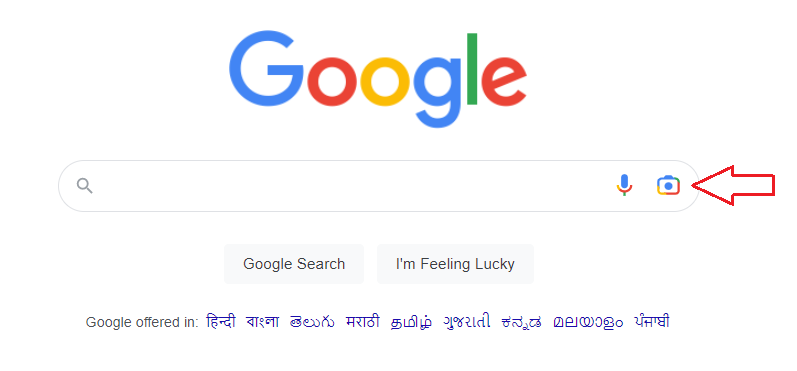
To open Google Images, go to www.google.com/imghp. Once the page loads, click on the camera icon in the search bar.
Step 3: Upload Image or Enter Image URL
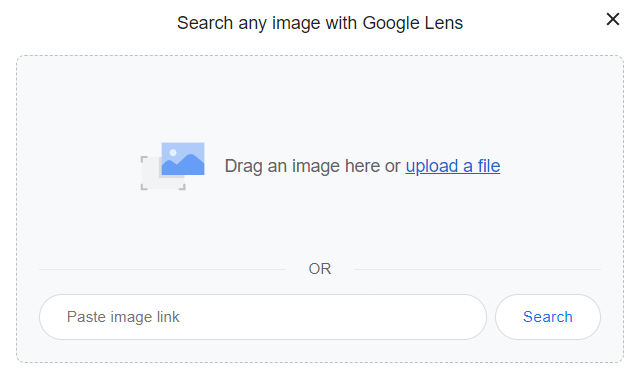
Once you’ve opened the reverse image search tool, you have two options to choose from. You can either upload the image directly from your device or enter the image URL.
To upload the image, click on the “Upload a file” tab and choose the image from your device. You can also drag on drop the image in the box.
To enter the image URL, click on the “Paste image link” tab and enter the image link.
Step 4: Perform the Reverse Image Search
After uploading the image or entering the image URL, click on the “Search by image” button. The reverse image search tool will now search the internet for similar images.
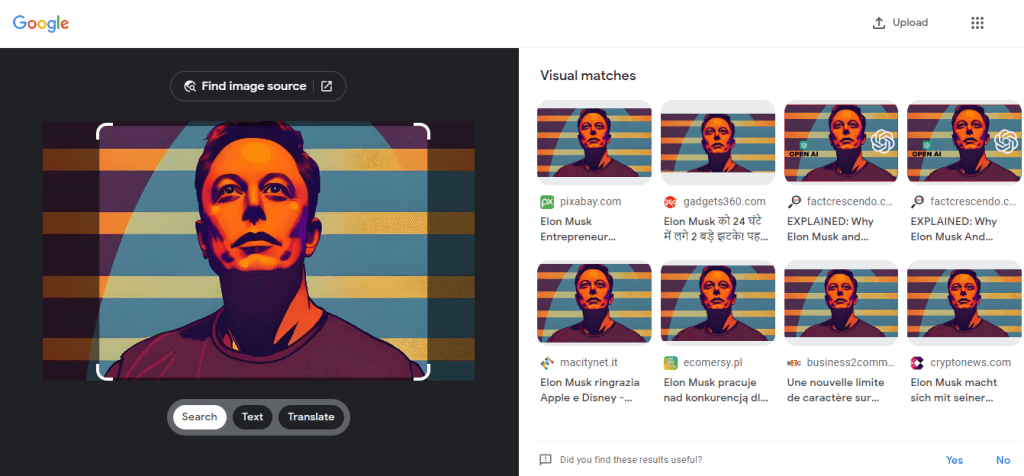
Step 5: Review Results
Once the search is complete, you’ll be presented with a list of results. The results will include websites that have used the same image, as well as visually similar images.
Step 6: Analyze Results
Now that you have the results, it’s important to analyze them to determine the authenticity of the image. Look for the original source of the image and compare it to the website or publication where you found the image. If the source is different or unknown, there may be cause for further investigation.
When doing a reverse image search, there are a few things you should consider:
- Crop the image: If there is a lot of extra space around the image, cropping it down to just the relevant part may yield better results.
- Use different file types: Try searching using different file types, such as JPEG or PNG, as this may affect the results.
- Use visually similar images: If the image has been altered or edited in any way, use visually similar images to know the original source of an image or determine if the image has been altered or manipulated. It can also help finding other images of the same subject taken from different angles or perspectives.
- Use multiple search engines: It’s always a good idea to use multiple search engines when conducting a reverse image search to ensure you get the most accurate and comprehensive results.
Reverse Image Search on Smartphone
Here is a step-by-step guide on how to perform a reverse image search on a mobile device:
- Open your web browser and navigate to your preferred search engine. Google Chrome is a popular option for this purpose.
- Tap on the three vertical dots in the top right-hand corner of the browser to open the menu.
- From the menu, select “Desktop site”. This will display the search engine in the desktop version, which allows for reverse image search.
- Now, go to the search engine’s image search page. On Google, tap on the “Images” option on the top of the search page.
- Tap on the camera icon in the search bar. This will open the reverse image search feature.
- From here, you can either enter the URL of the image or upload the image from your device. To upload an image, tap on the “Upload an image” tab, and select the image you want to search for.
- Tap on “Search” and wait for the search engine to process your request. The search engine will show you a list of visually similar images and the web pages where the image is found.
- You can then click on the links to see where the image is being used and check if it is being used legitimately.
Reverse Image Search with Google Lens
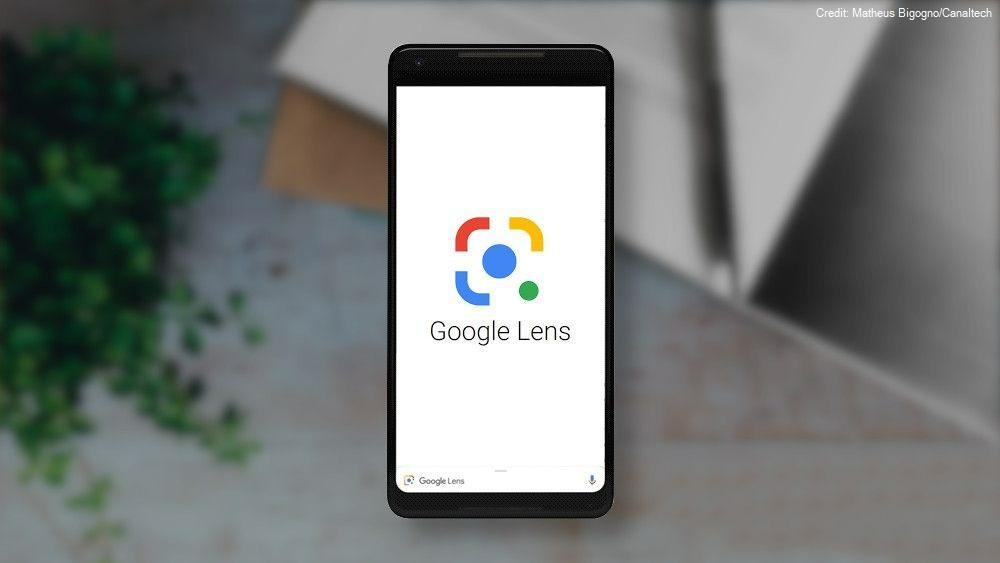
Performing a reverse image search with Google Lens on your smartphone is a quick and easy way to identify an image or find similar images which is particularly useful in combating fake news and misinformation.
Google Lens provides a seamless user experience, with the ability to perform reverse image searches directly from the phone’s camera app or by simply uploading an image from the device’s gallery.
Here’s how to do it:
- Save the image in your device’s gallery
- Open the Google Photos app on your smartphone.
- Find the image that you want to search for and tap on it to open it.
- Tap on the Google Lens icon at the bottom of the screen. It looks like a small square with a dot inside it.
- Google Lens will scan the image and show you the results of the reverse image search.
You can also perform a reverse image search with Google Lens by taking a photo of the image you want to search for directly from the app.
- Install the Google Lens app on your smartphone. It is available for free on both Android and iOS devices.
- Open the Google Lens app and allow access to your camera.
- Point your camera at the image you want to search for or select an image from your phone’s gallery.
- Tap on the image to select it.
- Tap the Google Lens icon, which looks like a small square with a dot inside, located at the bottom of your screen.
- Wait for Google Lens to analyse the image.
- Once the analysis is complete, Google Lens will show you information about the image, such as the name of the object or landmark, and provide you with visually similar images.
- To perform a reverse image search, scroll down and tap “Search more results for [image name]” or “Search this image on Google.”
- Google will then display a list of search results, including websites and images that match or are similar to the original image.
—
Tasks
- Find the source of a meme: Take a popular meme and try to find the original source image or the creator of the meme using reverse image search.
- Identify a celebrity: Save a photo of a random celebrity and try to find their name and other information about them using reverse image search.
- Research a product: Take or save a photo of a product and do a reverse image search to find reviews, prices, and other information about the product.
[qsm quiz=1]